Organizing your HTML Archive Content
The content used for an HTML Archive can be as simple as a single HTML file, or a complex structure of files, folders, and images. This type of structure is very similar to what you would create if you were making a Web site.
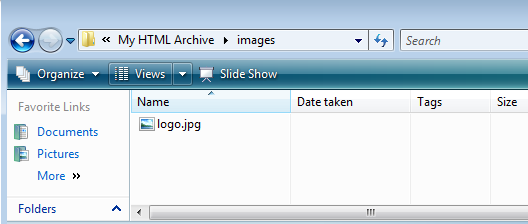
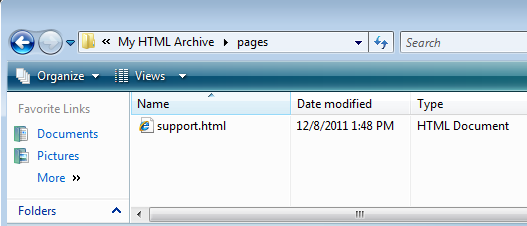
The first thing you'll want to do is create a folder on your computer that will contain all of the files you will be using in your HTML files. As an example, I've created a folder on my computer named "My HTML Archive" that I've put all of my files that I will be using. You can organize your files any way you wish, but for this example I've created two folders named "images" and "pages". The "images" folder contains the file "logo.jpg", and the "pages" folder contains an HTML file named "support.html" as shown below: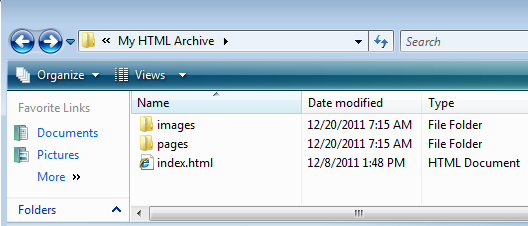
Just like a website, every HTML Archive must have a file that is shown first. This file acts as the entry point that can be used to provide access to other files via hyperlinks. In my example, I've created an HTML file called "index.html" which will be the first page that is shown. This file links to the image "logo.jpg" and the HTML file, "support.html" as discussed earlier. While I've named my file "index.html", it can be named anything you want, but must be located at the top level, in this case in my containing folder "My HTML Archive", and must also contain the file extension ".html". Whatever you name this file, be sure to make note it, because you will be required to enter its filename in the Custom Page activity's settings on the Android Application Request. This filename is also case-sensitive.
How to Create a Zip File Containing Your HTML Files
Once you're happy with all of your HTML content and have tested it to make sure all links are working properly, the next step is to create a .zip file that will contain your files. This .zip file will be the file that you will be uploading in the HTML Archive activity of your project on the Android Application Request.
Creating the .ZIP File in Windows
By default, Windows Vista and Windows 7 has the ability to create .zip files, so this example will illustrate how to create it directly within Windows. If you're using an earlier OS such as Windows XP, you can download free .zip utility software such WinZip or 7-Zip that can be used to create the zip file.
1) Browse to the Folder
Following the example discussed earlier, browse to the folder containing all of your HTML content, in particular, to the folder containing your index file, which should be directly visible in your containing folder. In this example, I've named the folder "My HTML Archive", and my index file is called "index.html". You should see the contents of the folder as seen below (Note: This is shown using "Details" view. You can change your view by selecting the "View" dropdown next to the "Organize" button):
2) Select the Contents of the Folder
The next step is to select all of the files and folders that you want to include in the .zip file as shown below.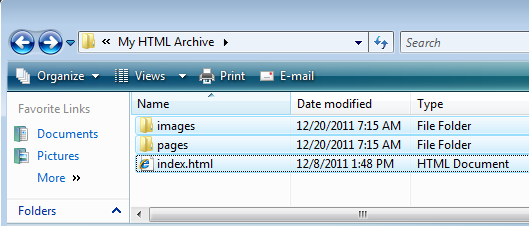
3) Right-click on Selected Files
While all of the files are selected, right-click on one of your files such as your index file and choose "Send To > Compressed (zipped) Folder".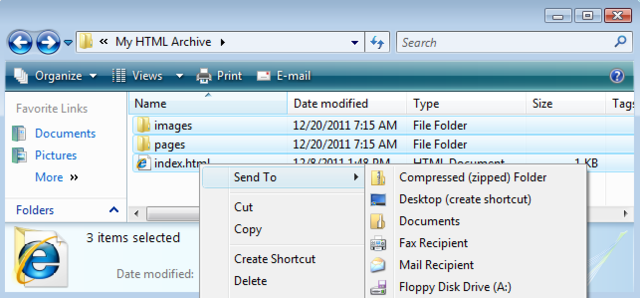
4) Provide a Name for the .ZIP File
Windows will automatically highlight the name of the .zip file so you can rename it. You can name this file anything you want, however you must preserve the ".zip" extension. For this example, I've named it "my_html_archive_sample.zip".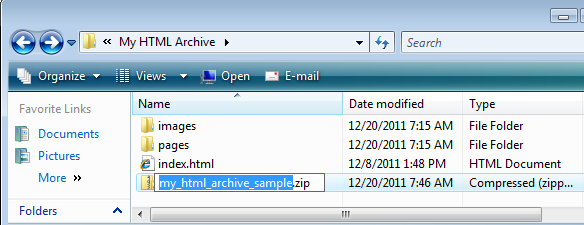
Updating Or Enter Your HTML Archive Activity
At this point you now have the required files and information in order to update or setup your Custom Page Activity on the Android Application Request.
Based on the above example, you'll need to update 2 settings in your Custom Page Activity, the .zip file and the HTML index file as discussed below.
HTML Archive File
The first setting you'll need to update or enter is the "HTML Archive File". This is the .zip file you've just created that you will need to upload by clicking the "Choose File" button. In my example, it's the file named "my_html_archive_sample.zip".
HTML Index Page
This is the name of the file that was discussed previously in the section "Organizing your HTML Archive Content" that you've specified as the first page to show. The name chosen for this example was "index.html", so this is the full name of the file that needs to be entered there.
You can download the sample HTML Archive ZIP discussed in the above article below:
my_html_archive_sample.zip